Blogs > Blocks Creation In Edge Delivery Services
AEM EDS
Blocks Creation In Edge Delivery Services
| December 15, 2024Happy to find you here. Welcome to another learning.
What is Block?
Block is a modular, reusable unit of content or functionality that is designed to streamline content delivery and personalization at the edge. Blocks are the building blocks for rendering web pages or delivering experiences directly at the edge, enabling faster delivery and reduced latency by leveraging edge computing principles
For the sake of this blog we will create a cards block which will display multiple cards on the page
Steps to create a block
So to create block we need to add the table in the document and then we need to add the content in it let us understand with an example.
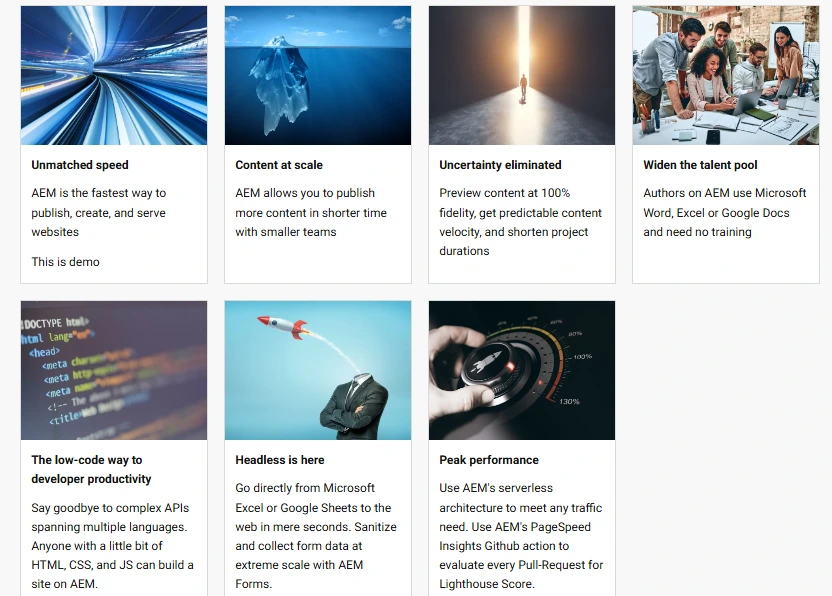
For example we need to create a multiple cards section which will look something like shown in the below image.

So to create the above Block we will follow the below steps
First of all we need to create table in the document where we need to add the block in the below manner
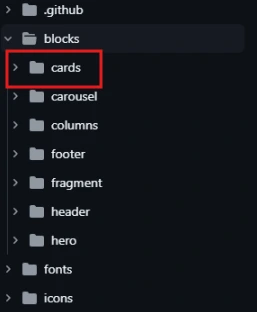
Now we need to rewrite this Dom structure using the JS and we need to add CSS to it to make it look presentable.So in the repository we have the folder called blocks inside that we need to create a folder by the name of the block the name that we have given in the first row of the table.
Inside this folder we will create two files one is js and other one is css and names would be cards.js and cards.css for sake of this blog.
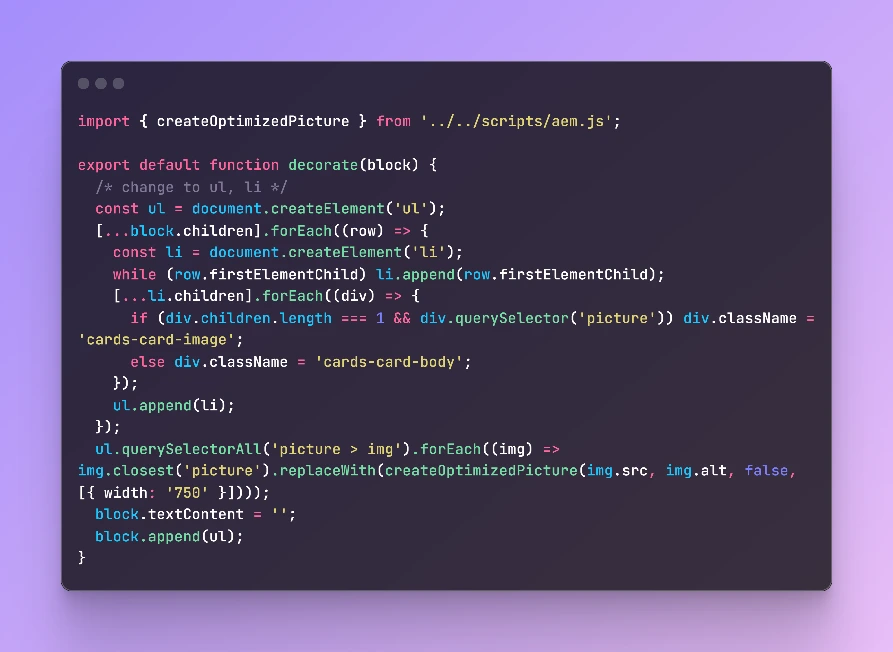
Inside the cards.js we will be adding the below logic to make the block presentable you can modify as per your needs and project requirements.
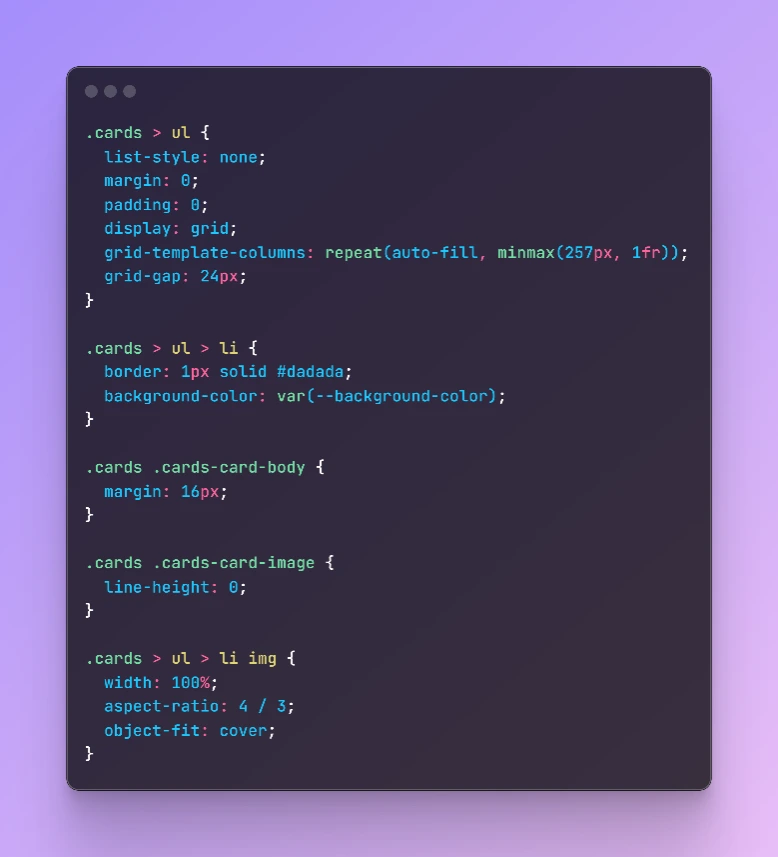
and inside the cards.css we will be adding the below logic.
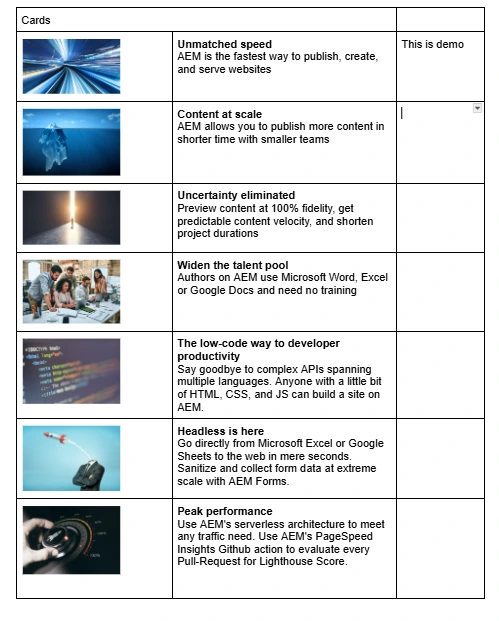
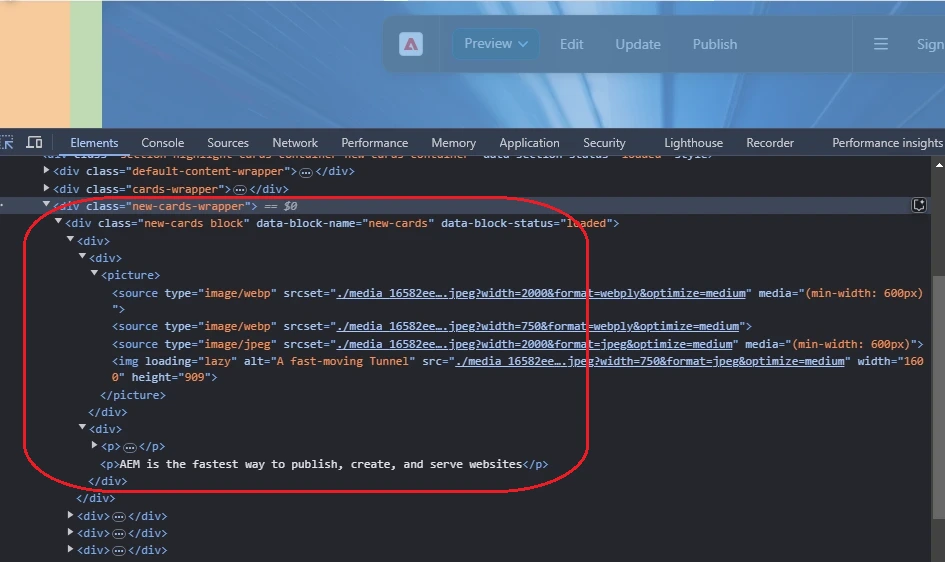
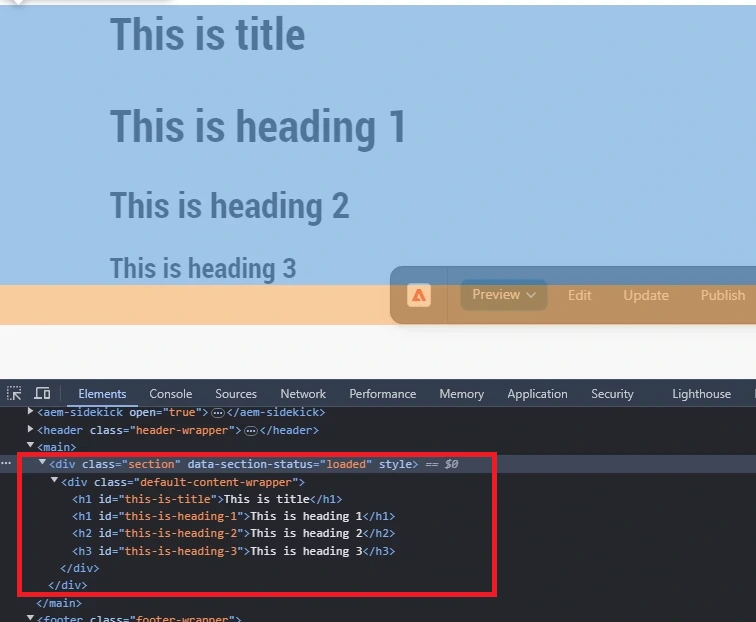
In this we will give the title of the block in the first row and then we will give the image and description in the below rows.After creating this when we preview the page we will get the DOM that is created out of the box as shown in the below image.

After adding all the css and js code the block will render as shown below
These are the 5 steps in which you can create a block and publish on the page.
Now whenever you create a block or you write anything on the document it comes under some section tag and if you want your next code to come under different section then in that case you need to seperate the sections so let's see how we can seperate the sections.
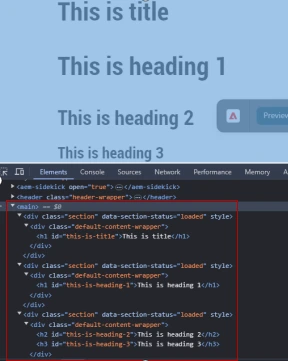
Now if you add any content to the page this is how it comes under section
To seperate the section we need to use hyphen("-") 3 times or horizontal line this will seperate the sections as shown in the below image
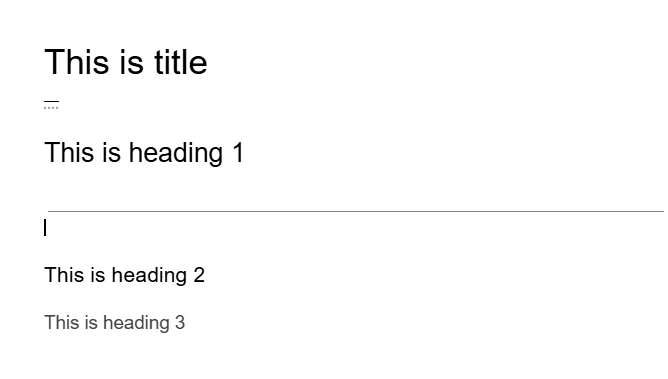
After adding the seperation this is how the sections get seperated
How to add custom css to the particular section
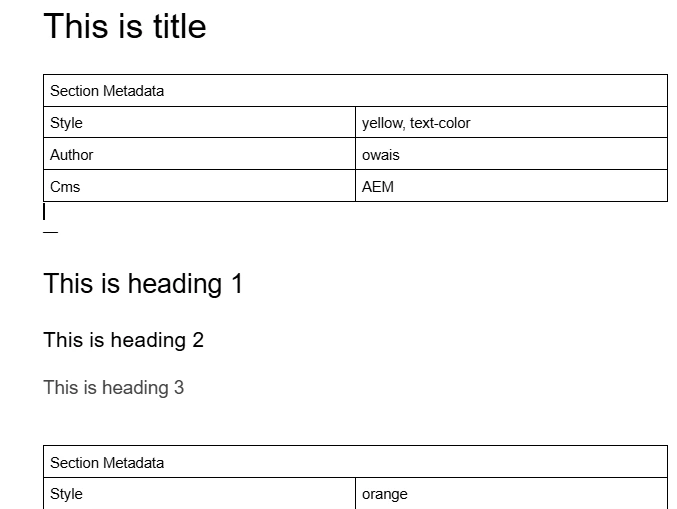
Suppose you have the two sections as show below and you wanted to apply any CSS class to each section or wanted to add any attribute to the section, so for that we need to creat a table with table title as Section Metadata in that we need to provide like for style we need to add style and its classes and for attribute in first column attribute name and in second column attribute value as shown below
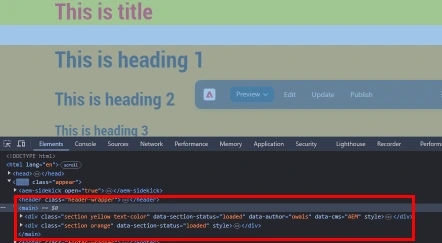
This is how it would add to the section as shown below.
Now your block is ready you can preview on the page
Thanks for reading 😄